The development of flexographic printing plates from the rubber plate to the photosensitive resin plate has undergone a long process. In the field of modern flexo printing technology, the photosensitive resin plate has many advantages compared to the rubber plate, such as a significant reduction in the shrinkage of the plate, a better stability, a simpler plate making process, and a higher reproduction accuracy of the manuscript. However, regardless of the type of material used, there is a problem of how to extend the life of the printing plate. In the following, we will analyze the factors that affect the life of flexo plates.
1. Platemaking process
Photosensitive resin flexographic production process flow is:
Yin picture preparation → Cropping → Back exposure → Front exposure → Flush (development) → Drying → Detacking → Post-exposure
(1) Exposure
The first is the back exposure, that is, the uniform exposure of the media from the back. Its main role is to establish the emboss depth of the printing plate and to strengthen the adhesion of the polyester support film and the photosensitive resin layer. Generally, the back exposure time is short, and the length of the back exposure time determines the thickness of the substrate. Moderate back exposure allows the photosensitive flexo monomer to fully cross-link and increase the plate's resistance to printing. Plates generally have a valid exposure time range. To avoid underexposure on the back, it is best not to set a minimum exposure time for back exposure.
Followed by the main exposure, the frontal exposure. The main exposure time mainly depends on the plate type and the size of the graphic on the negative picture, which is generally proportional to the area of ​​the graphic. If the main exposure time is set to the minimum value, the risk of underexposure also occurs. For example, for a plate with a thickness of 2 to 4 mm, the exposure time is generally several minutes to ten minutes. If the main exposure time is too short, it will result in lighter graphics and lower plate hardness, shortening the plate life.
The last is the post-exposure, ie full exposure of the dried plate. After exposure, the entire resin plate can completely undergo photopolymerization reaction, and the plate resin can be completely hardened to achieve the required hardness, improve the printing plate resistance to printing, and improve the solvent resistance of the printing plate, thereby prolonging the life of the printing plate.
(2) Rinse and rinse development, that is, the plate material is hardened by exposure to light after exposure, and the part with no light is removed by a brush under the action of a solvent. The depth of the brush is the height of the graphic relief. Usually the development time is from a few minutes to twenty minutes. If the development time is too long, it is easy to cause graphic damage, surface bulging or unequal layout issues, so that the printing plate will be shortened due to excessive friction during the printing process. life.
(3) Drying
The washed plate is swollen due to the absorption of solvent, and the sucked solvent is discharged by hot air drying to restore the original plate thickness. This process is called drying. The drying temperature is generally 50°C to 70°C and the drying time is from several minutes to thirty minutes. When drying, the temperature and time should be strictly controlled. If the drying is not sufficient, the layout will not be evenly expanded, so the stress will be uneven during the printing process, shortening the life of the printing plate.
(4) Light to remove
The purpose of de-bonding is to remove the tackiness of the surface of the plate and enhance the ink repellency. The method of de-bonding the plate surface includes light and chemical methods, in which light is used for detackification. The length of time the light is removed depends on the development and drying time. Excessive time for debonding can easily cause the plate to become brittle and crack.
In addition, excessive light may also cause poor ink transfer, which appears to be due to insufficient pressure between the plate and the substrate on the final print. Therefore, the printing operator tends to adjust the printing pressure only so that the printing pressure is too high, resulting in increased wear of the printing plate.
2. Printing process
(1) Ink
After the flexible printing plate is produced, the next process is to be pasted, loaded, and ready for printing on the machine. (to be continued)
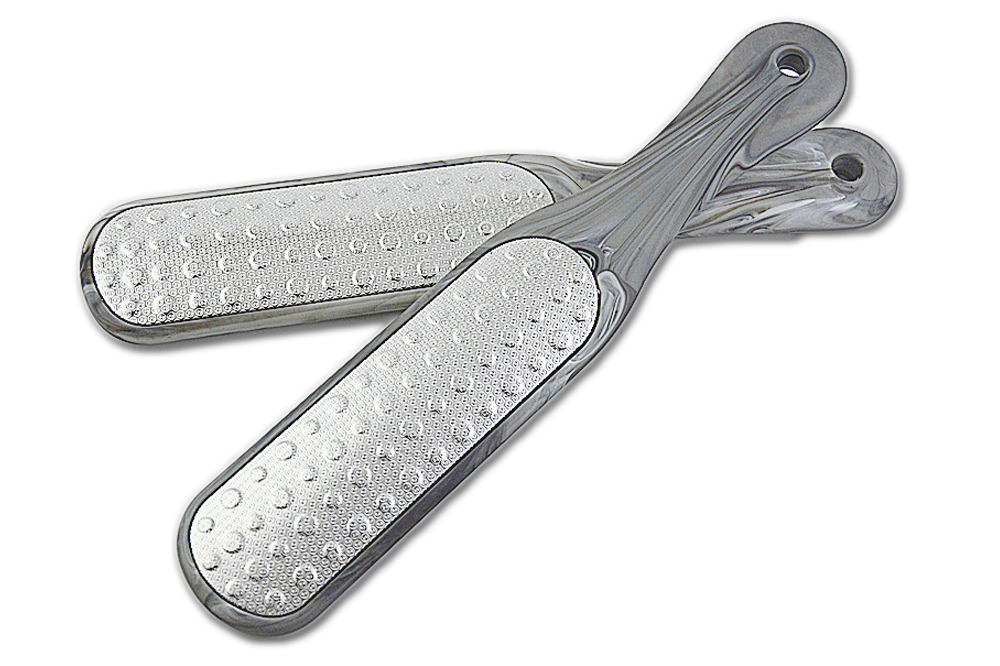
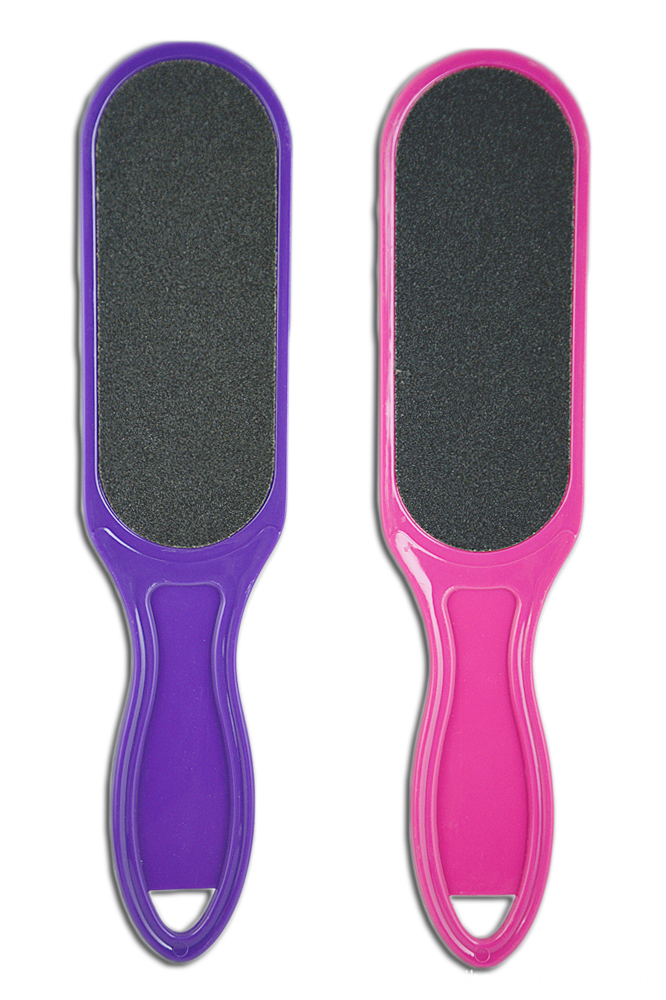
A Foot File is a file which is specifically designed to be used on the feet. Foot files are used to remove calluses and smooth the skin of the feet, and some people regard them as an important part of foot care. Regular use of a foot file can help to keep the feet smooth and pleasant, and it can reduce discomfort from oversized calluses.
Rough foot files can be made from metal or sandpaper. Metal foot files are used to essentially grate calluses away, and they require a delicate touch to ensure that excessive tissue is not removed from the foot. Sandpaper or emery files require less care, but they take up more time, as the course material works more slowly than a microplaning foot file. Fine files made from textured glass or very fine emery paper are designed for finishing touches only, as they are far too fine for serious calluses.


Foot File
Pedicure Tools,Foot File,Foot Files For Feet,Stainless Steel Foot File,Dead Skin Remover,Remove Dead Skin From Feet
YANGJIANG HUIHUI BEAUTY TOOLS CO.,LTD , https://www.yjhuihuibeauty.com